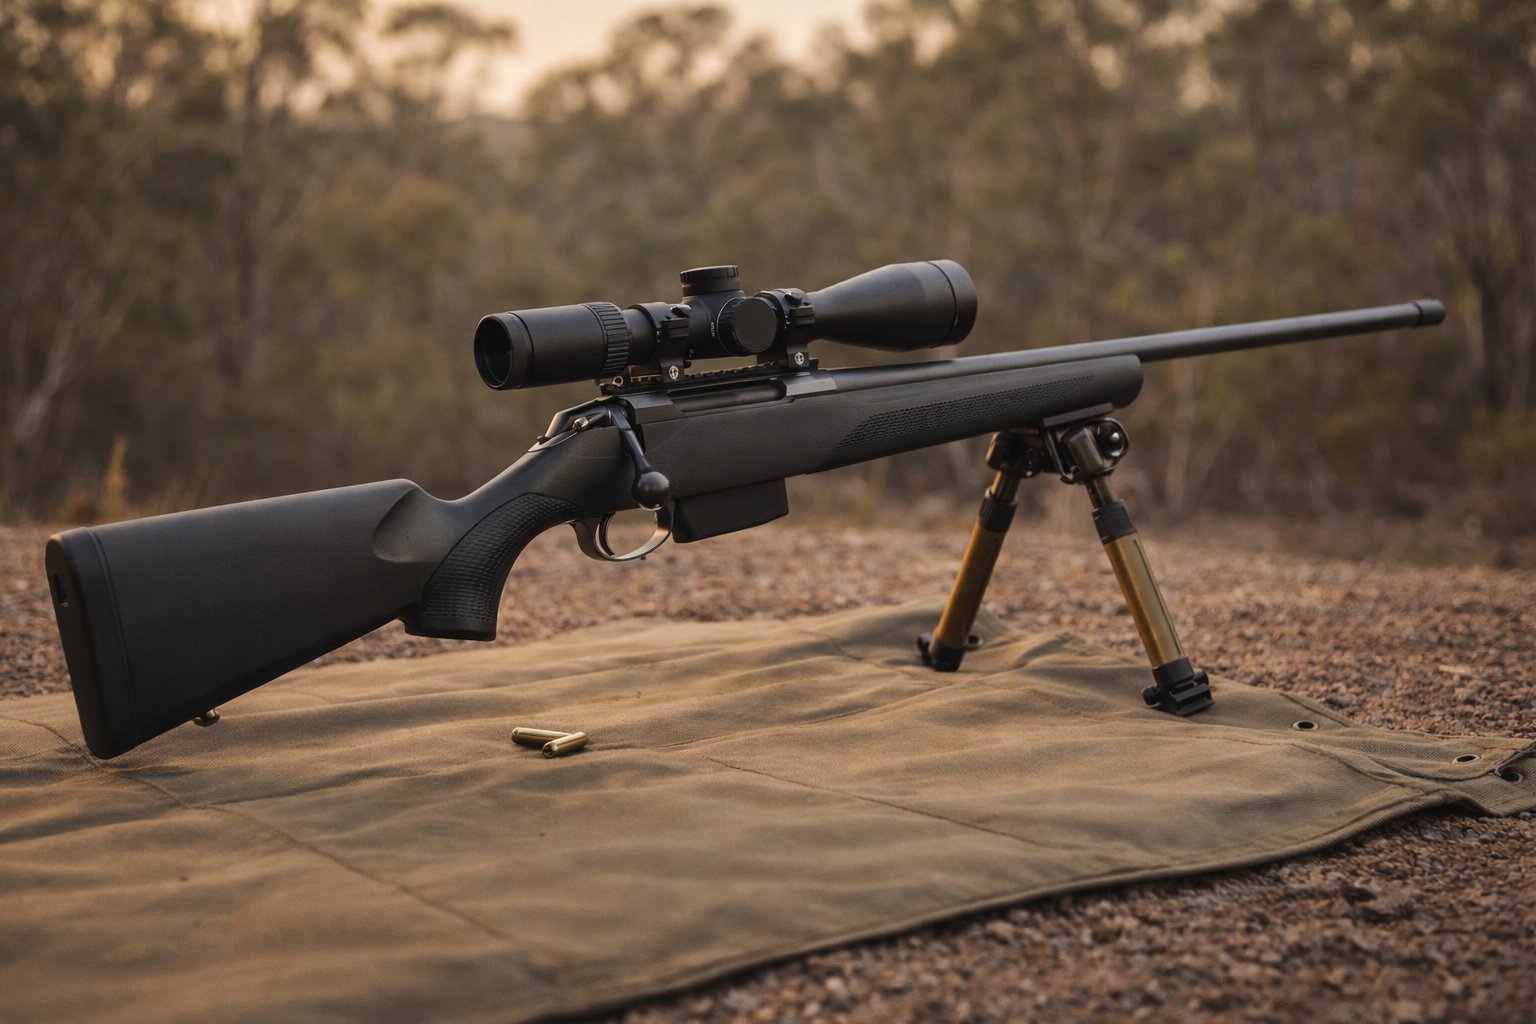
Precision setup starts with fit after the optic is mounted. Set eye relief first, then check length of pull, cheek height, and trigger feel. If head position is the problem, start with cheek height. If trigger reach or shoulder position feels cramped after eye relief is set, start with length of pull. If both issues show up together, the Performance Kit is the cleaner path.
Your Tikka T3x may already shoot well from the factory, but the fit question starts after the scope goes on: eye relief, stock length, cheek position, and trigger feel all affect how naturally you sit behind the rifle.

A rifle that fits poorly forces compensation. You may crane your neck to find the reticle, crowd the trigger, or keep adjusting your shoulder position instead of mounting the rifle the same way each time.
This guide keeps the setup order practical: set eye relief first, check length of pull second, set cheek height third, then review trigger feel. Use the product links only when the symptom is clear.

1. Get your length of pull right
Length of pull (LOP) is the distance from the trigger to the back of the recoil pad. Factory Tikka LOP is around 13.4 inches — fine for an average-build European shooter in a light jacket, but too long for many Australians shooting in summer, and too short for taller shooters in winter kit.
If your LOP is off, you’ll notice it most in your trigger reach. Too long and you’re stretching — your finger sits on the trigger at a bad angle, and your pull isn’t straight back. Too short and you’re cramped behind the scope, eating recoil with your shoulder instead of your body.
The fit path is simple: add a spacer between the stock and recoil pad only when the rifle feels short or cramped after eye relief is set. The Nokka LOP Spacer Kit includes 10 mm and 20 mm options so you can tune stock length in measured steps. For every LOP spacer, use one spacer by default. Stacking any combination of LOP spacers can be done only in special cases, but a multi-piece stack does not create the strongest possible connection and is not our recommended default. If stacking is required, glue the spacer pieces together before final installation and use only the confirmed locating and fastening hardware for the setup. Contact us first if the stacked setup and hardware have not already been confirmed.
If your rifle is a T3x ACE or a UPR, the T3x ACE and UPR length of pull kit is the matching part; the standard kit is for the factory hunting stock.
For a detailed walkthrough, see our guide: How to Adjust Length of Pull on Your Tikka Rifle.
2. Fix your cheek weld
This is the single most common fit issue with scoped Tikka rifles, and almost nobody talks about it.
Factory Tikka stocks are designed with a comb height optimised for iron sights. When you mount a scope — especially with medium or high rings — your eye needs to sit higher than the factory comb allows. The result: you lift your head off the stock to find the reticle, losing your cheek weld. Or you press down hard, straining your neck.
Either way, your head position changes shot to shot. That means your eye relief shifts, your sight picture is inconsistent, and your groups open up for reasons that have nothing to do with the rifle.
A drop comb cheek riser raises the comb to match your scope height. The Nokka Drop Comb Cheek Riser is the Nokka path for compatible factory-stock cheek-height issues. Set the height from your natural mount, then follow the product fit and install notes before final placement.
More on the problem and the fix: Why Comb Height Matters: Getting Your Cheek Weld Right. For the complete ergonomic upgrade sequence (grip, cheek weld, LOP) see our Tikka T3x ergonomic upgrade guide. To dial in the exact riser height for your scope, see What Cheek Riser Height Do You Need for a Tikka T3x?.
3. Review trigger feel
The factory Tikka trigger is adjustable and usable for many shooters. Some shooters prefer a lighter pull feel once stock fit and eye relief are already sorted.
There are two approaches: adjust the factory trigger within the rifle's normal adjustment range, or use a lighter spring if that suits your setup and comfort level.
The Nokka Trigger Spring is the Nokka path for that change. Follow the product instructions, reassemble carefully, and function-check the trigger and safety afterward.
For the step-by-step DIY walkthrough: DIY Tikka Trigger Spring Replacement — Step-by-Step Guide. For the background on what to expect: Tikka T3x Trigger Spring Replacement: What to Expect.
Shooting PRS or precision competition? See our Tikka T3x PRS competition setup guide. Heading into hunting season? Our pre-season Tikka setup checklist covers every check in the right order before you go afield.
4. Scope mounting basics
This isn’t a full scope mounting guide — that’s a topic worth its own article. But here are the three mistakes we see most often with Tikka setups:
Wrong ring height. Tikka barrels are relatively slim, so you don’t need ultra-high rings in most cases. Medium rings with a 50mm objective lens are the sweet spot. High rings create a bigger gap between your eye and the scope axis, making cheek weld harder.
Rings not torqued properly. Over-torquing crushes the tube and can damage the scope. Under-torquing lets it shift under recoil. Use a torque wrench. Follow the scope manufacturer’s specs — usually 15–18 in-lbs for ring screws, 25 in-lbs for base screws.
Eye relief not set. Before tightening the rings or judging stock fit, shoulder the rifle naturally and slide the scope forward or back until you see a full, clear sight picture with no shadow. That's your eye relief. Then check whether the stock length or cheek height still needs work.
The quick version
If you want to get your Tikka T3x dialled in with minimal fuss, here’s the order of operations:
- Set eye relief - lock in scope position before judging stock fit.
- Check length of pull - add spacers only if trigger reach and shoulder position feel cramped after eye relief is correct.
- Check cheek height - add cheek height if your head lifts or rolls to find the sight picture.
- Review trigger feel - treat trigger feel as separate work after fit makes sense.
The Nokka Performance Kit bundles the LOP Spacer Kit and Drop Comb Cheek Riser together for shooters who need both stock length and cheek height sorted.
Your Tikka is already a good rifle. Make it fit you, and it becomes a great one.
→ See the full Tikka fitment chart — which part fits T3 / T3x / T1x / ACE / UPR
Precision setup FAQ
Which Nokka accessory should I buy first for a Tikka T3x?
Start with the fit symptom you can prove after eye relief is set. If your head lifts or rolls to find the sight picture, start with the Drop Comb Cheek Riser. If the stock feels short or cramped, start with the LOP Spacer Kit. If both issues show up together, choose the Performance Kit. Treat trigger feel as a separate choice after rifle fit is sorted.
Should I set eye relief before buying fit parts?
Yes. Scope position changes how the rifle feels behind the optic. Set eye relief with your actual scope and rings first, then check whether the remaining problem is cheek height, length of pull, or trigger feel.
Choose by the fit issue you are solving.
If the answer is not obvious yet, start with the checklist instead of guessing at parts.
Get Tikka setup notes in your inbox.
Join the Nokka list for fit guides and new Tikka parts. The checklist is available now if you want to work through the setup first.
Make your Tikka fit you
The Drop Comb Cheek Riser and LOP Spacer Kit, bundled and set up to work as a system — at a price that beats buying them separately.

