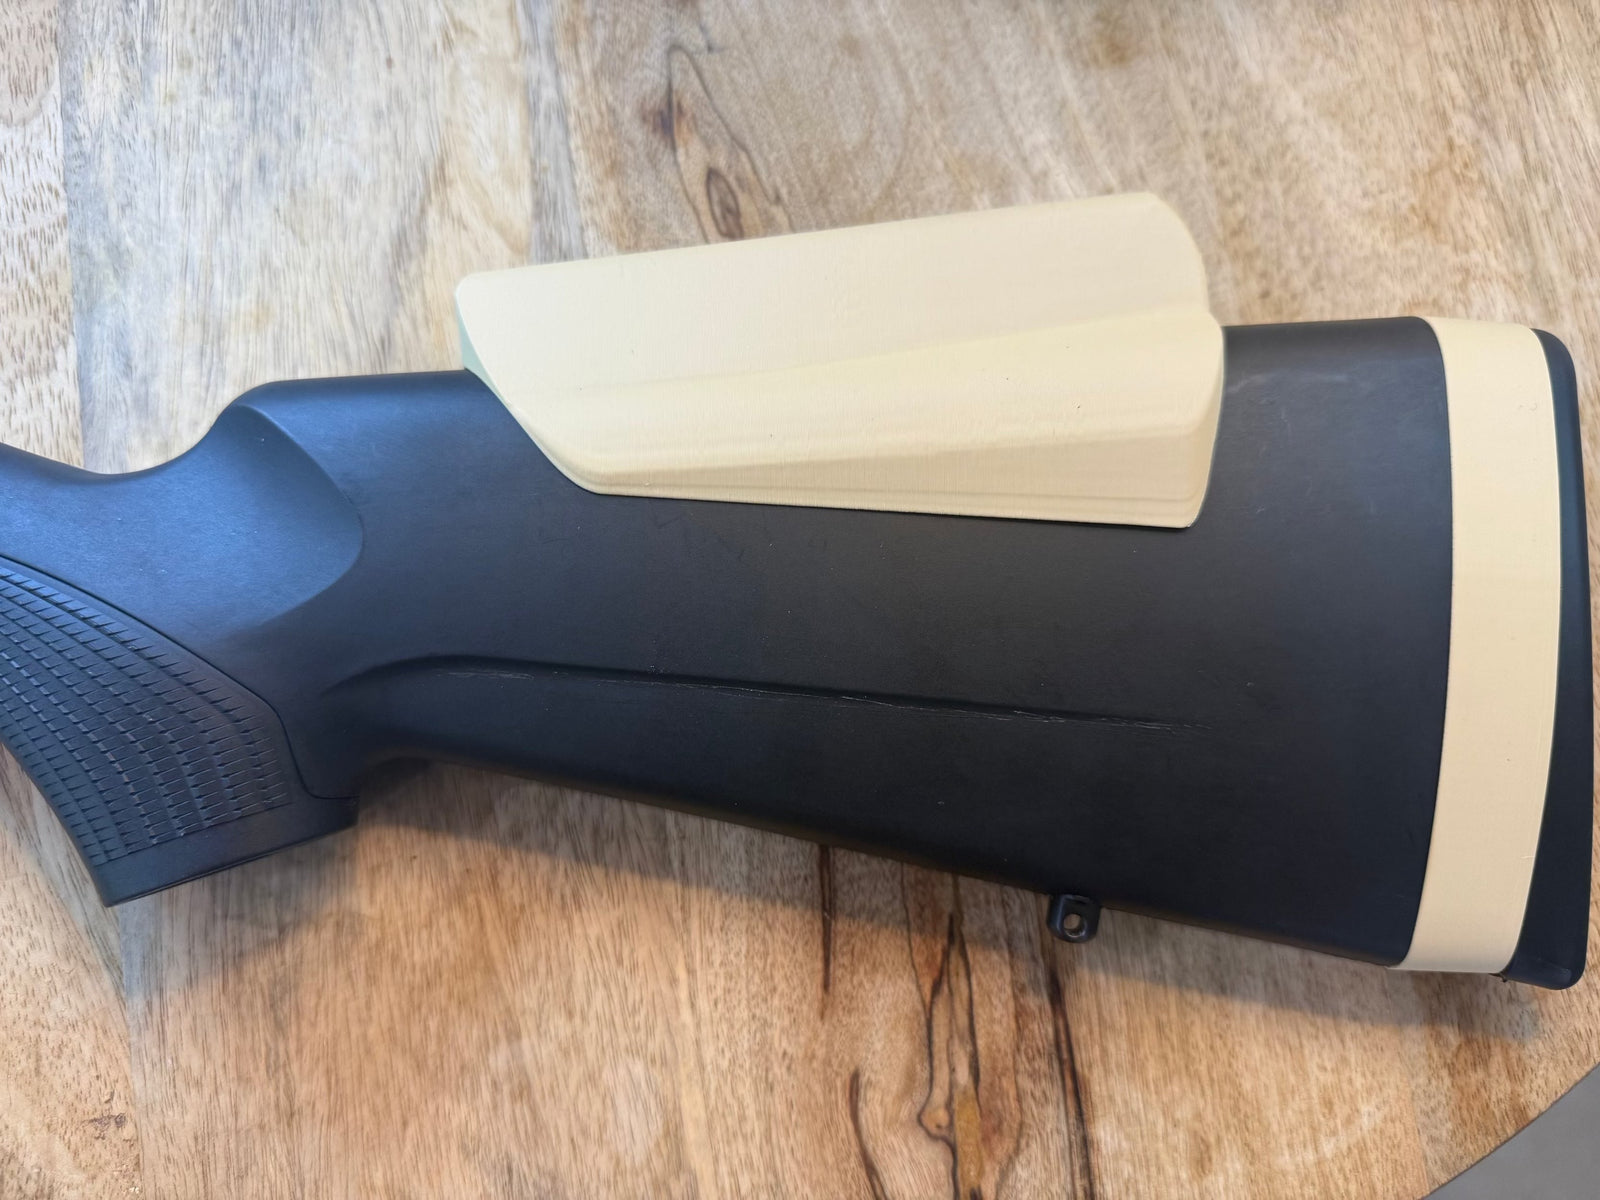
Before opening week, confirm eye relief and scope position with the mounted scope, check length of pull in your real hunting clothing, confirm cheek height, review trigger feel safely, then zero with the ammunition you will carry. Start with the Tikka Fit Checklist so you know whether length of pull, cheek height, eye relief, or trigger feel is the next useful change.
Pre-season setup is about removing surprises. A rifle that felt fine at the range can feel different once you add a jacket, gloves, a pack, awkward field positions, and the exact scope and ammunition you will hunt with. Use this checklist before the final zero session so fit changes happen in the right order.
The pre-season Tikka setup order
1. Confirm eye relief and scope position
With the rifle unloaded and your hunting layers on, shoulder the rifle naturally and confirm that the scope gives a full, shadow-free sight picture without crawling forward or pulling back. If eye relief is wrong, length-of-pull and cheek-height checks can both mislead you.
2. Check length of pull in hunting clothing
Put on the jacket or layers you expect to wear. Shoulder the rifle from standing, sitting, and prone positions. Check whether the reach to the trigger feels natural and whether there is enough clearance between your face and the scope.
If the stock feels short or the scope sits too close after eye relief is set, measure the change before choosing a part. The LOP Spacer Kit is the Nokka path for compatible setups that need more stock length.
3. Check cheek weld and scope alignment
Mount the rifle with your eyes closed, settle into position, then open your eyes. If the sight picture is not centered without lifting or pressing your head down, comb height or scope position needs attention before zeroing.
The Drop Comb Cheek Riser is the Nokka path when a compatible factory-stock setup needs more cheek height. If both length of pull and cheek height need work, the Performance Kit bundles the Cheek Riser and LOP Spacer Kit for less than buying those two parts separately.
4. Review trigger feel and safety checks
Confirm the rifle is unloaded before any dry-fire or handling check. If trigger work has been done, or if you are considering it, follow the rifle manual, complete safe function checks, and use a qualified professional whenever you are unsure.
For hunting, the goal is not the lightest possible trigger. The goal is a pull weight you can manage safely with cold hands, gloves, and an elevated heart rate, with enough range time left to confirm the setup before the season. If trigger pull feel is the issue after fit is sorted, see the Trigger Spring.
5. Clean, inspect, and function-check the rifle
Clean the bore to your normal standard, inspect the bolt and action area, and confirm action-screw torque against the rifle manufacturer's guidance. Cycle your actual hunting ammunition through the magazine and chamber before range day so feeding issues are found early.
6. Confirm scope hardware before zeroing
Check ring and base hardware, then confirm eye relief again after any stock-fit changes. Scope position comes first, but final sight-picture confirmation still belongs before zeroing.
7. Zero with your hunting load
Zero with the exact ammunition you will carry. If you changed length of pull, cheek height, ring height, or eye relief, treat the next range trip as a fresh confirmation rather than a quick touch-up.
8. Check magazine, sling, and carry details
Load the magazine, cycle dummy-safe practice or live range rounds only in an appropriate setting, and confirm the sling does not interfere with the way you mount the rifle. Small carry details become obvious only when you handle the rifle the way you will use it.
Use the checklist before buying parts
If the rifle needs both length-of-pull and cheek-height work, the fit checklist will point that out. If it only needs one change, it will save you from changing the wrong thing first.
- For stock length: LOP Spacer Kit
- For cheek height: Drop Comb Cheek Riser
- For both fit issues: Performance Kit
- For trigger pull feel after fit is sorted: Trigger Spring
Run the checklist in your hunting clothing, then decide whether length of pull, cheek height, or trigger feel needs attention first.
Run the Tikka Fit Checklist ->
Frequently asked questions
What should I check on my Tikka before hunting season?
Check length of pull in your hunting clothing, cheek weld with your actual scope, trigger feel and safe function, action-screw torque, scope hardware, feeding, and zero with your hunting ammunition.
Should I zero before or after changing stock fit?
Zero after eye relief, length of pull, and cheek height are confirmed. Any change that moves your head behind the scope can change the final sight picture, so final zero belongs at the end.
Do I need a cheek riser for a scoped Tikka T3x?
You may need one if your eye sits below the scope centerline when you mount the rifle naturally. Check cheek weld with the rifle mounted before choosing a riser or changing ring height.
What is the safest order for pre-season setup?
Confirm eye relief and scope position first, then length of pull, cheek height, trigger feel, hardware, and zero. Use the final range session to verify the complete setup.
Make your Tikka fit you
The Drop Comb Cheek Riser and LOP Spacer Kit, bundled and set up to work as a system — at a price that beats buying them separately.

